Windows SDK supports X86 (32-bit) and X64 (64-bit) hardware platforms, and provides driver files for Windows 7 and above operating systems. Windows SDK includes some executable applications (such as viewing depth maps) and sample programs for some applications.
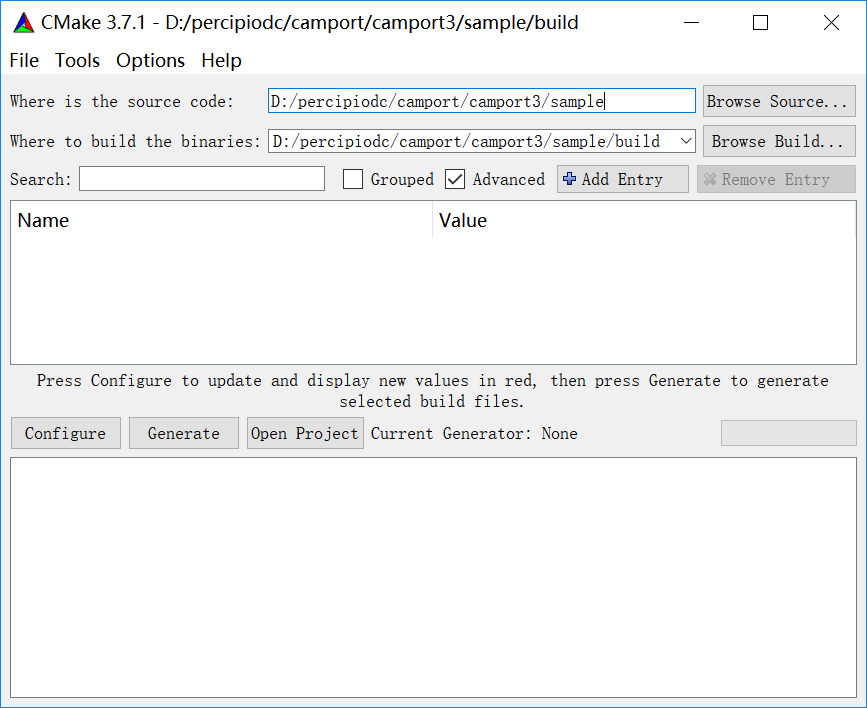
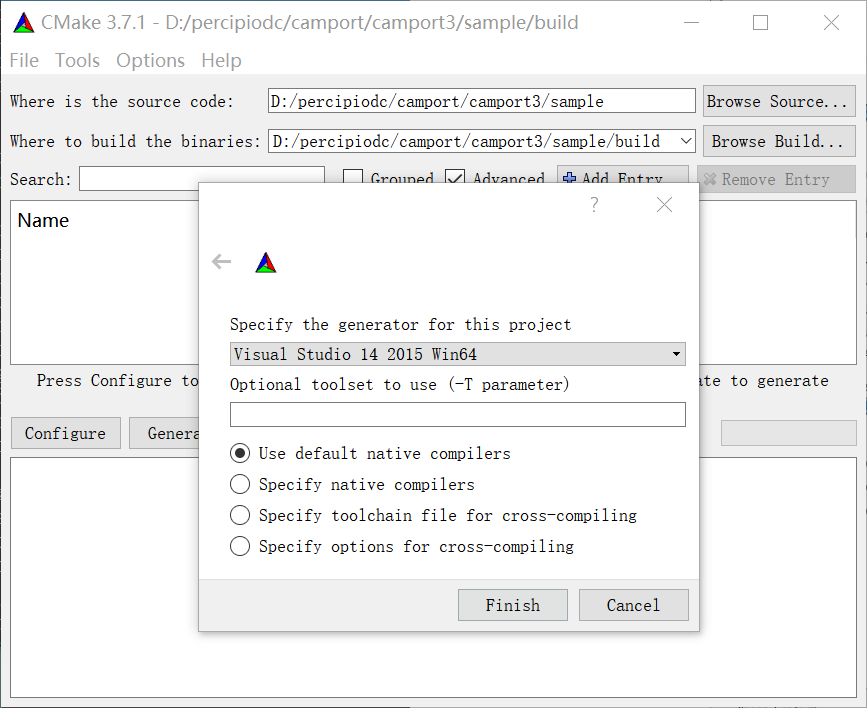
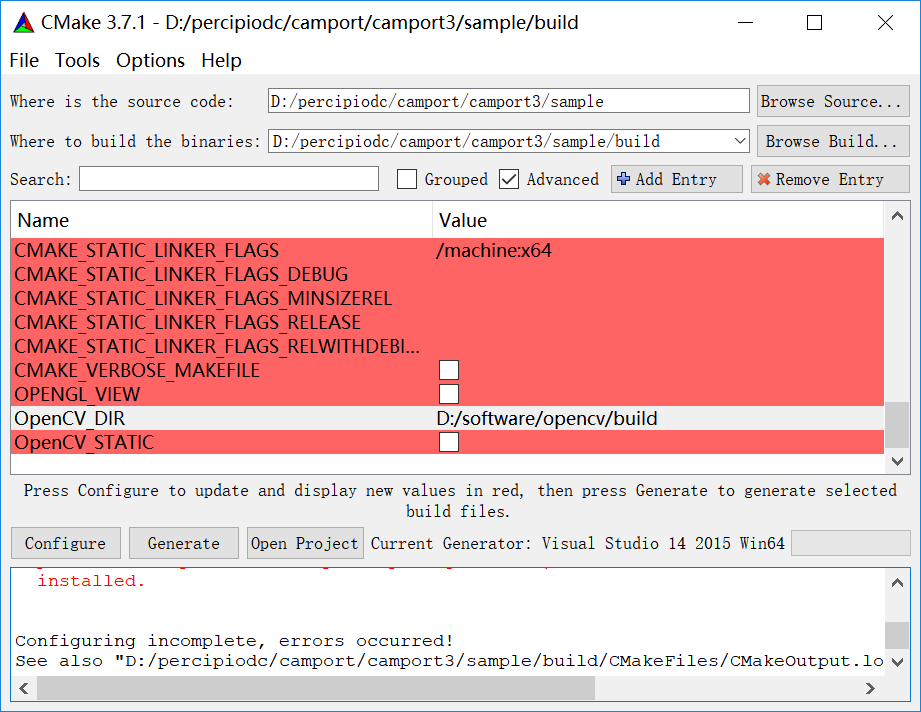
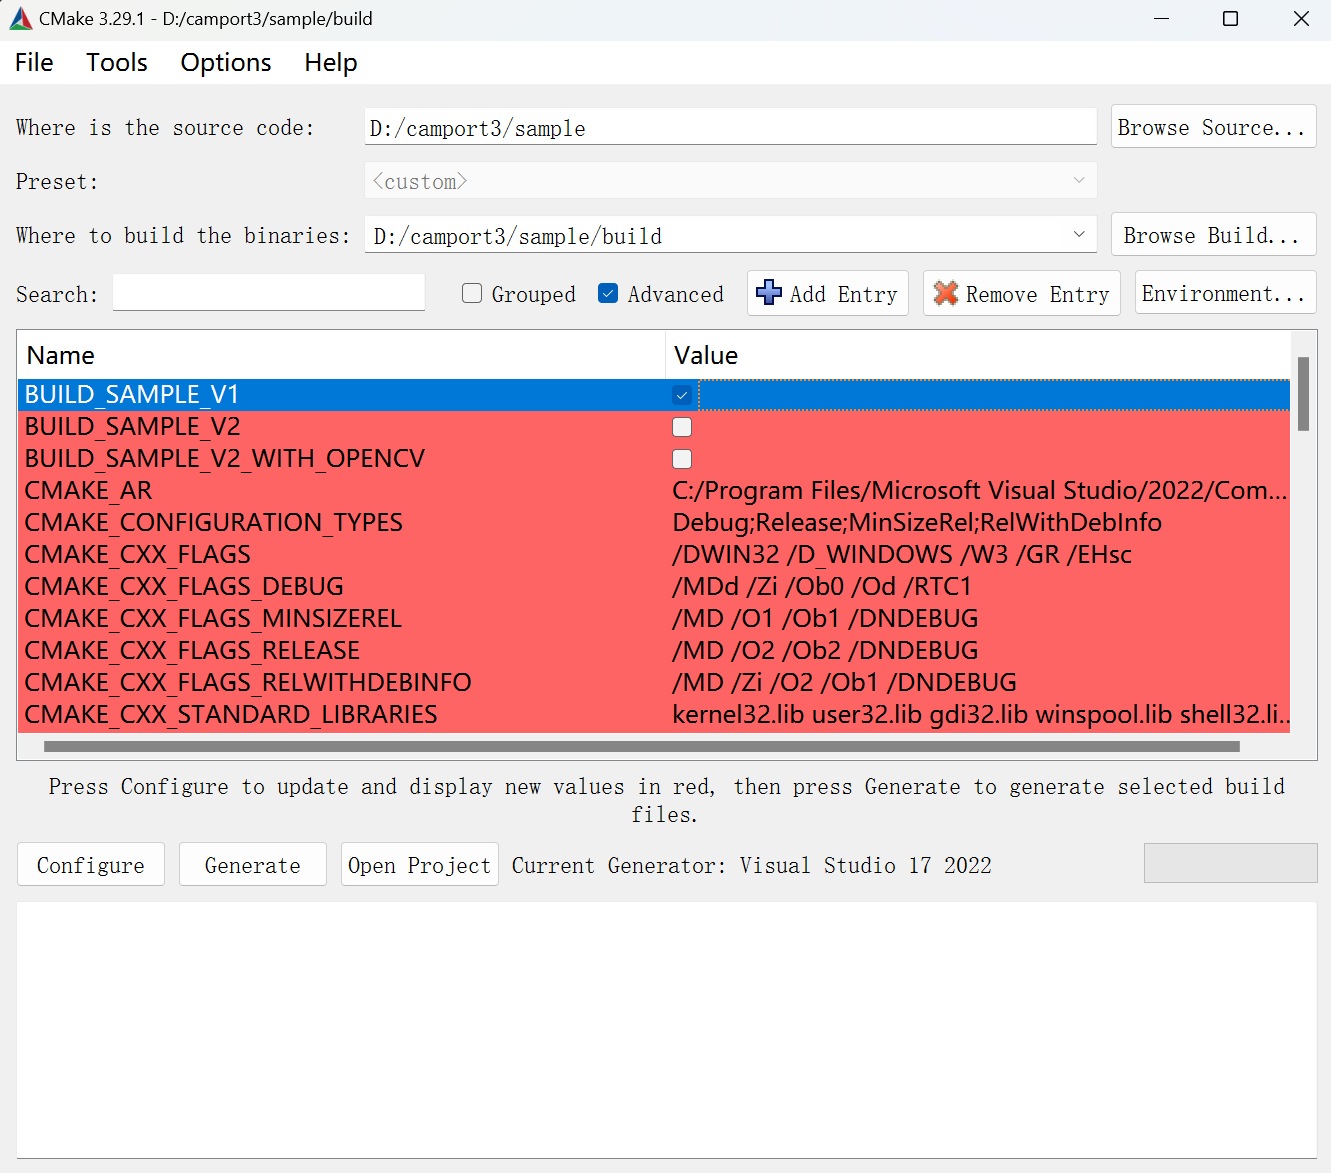
The following is an example of setting up the development environment for Percipio depth camera on Windows platform, using Windows 10 64-bit system:
Use the git command to obtain a local copy: Open the terminal, switch to the working directory where the SDK should be stored, and enter the gitclone command to clone the remote repository.
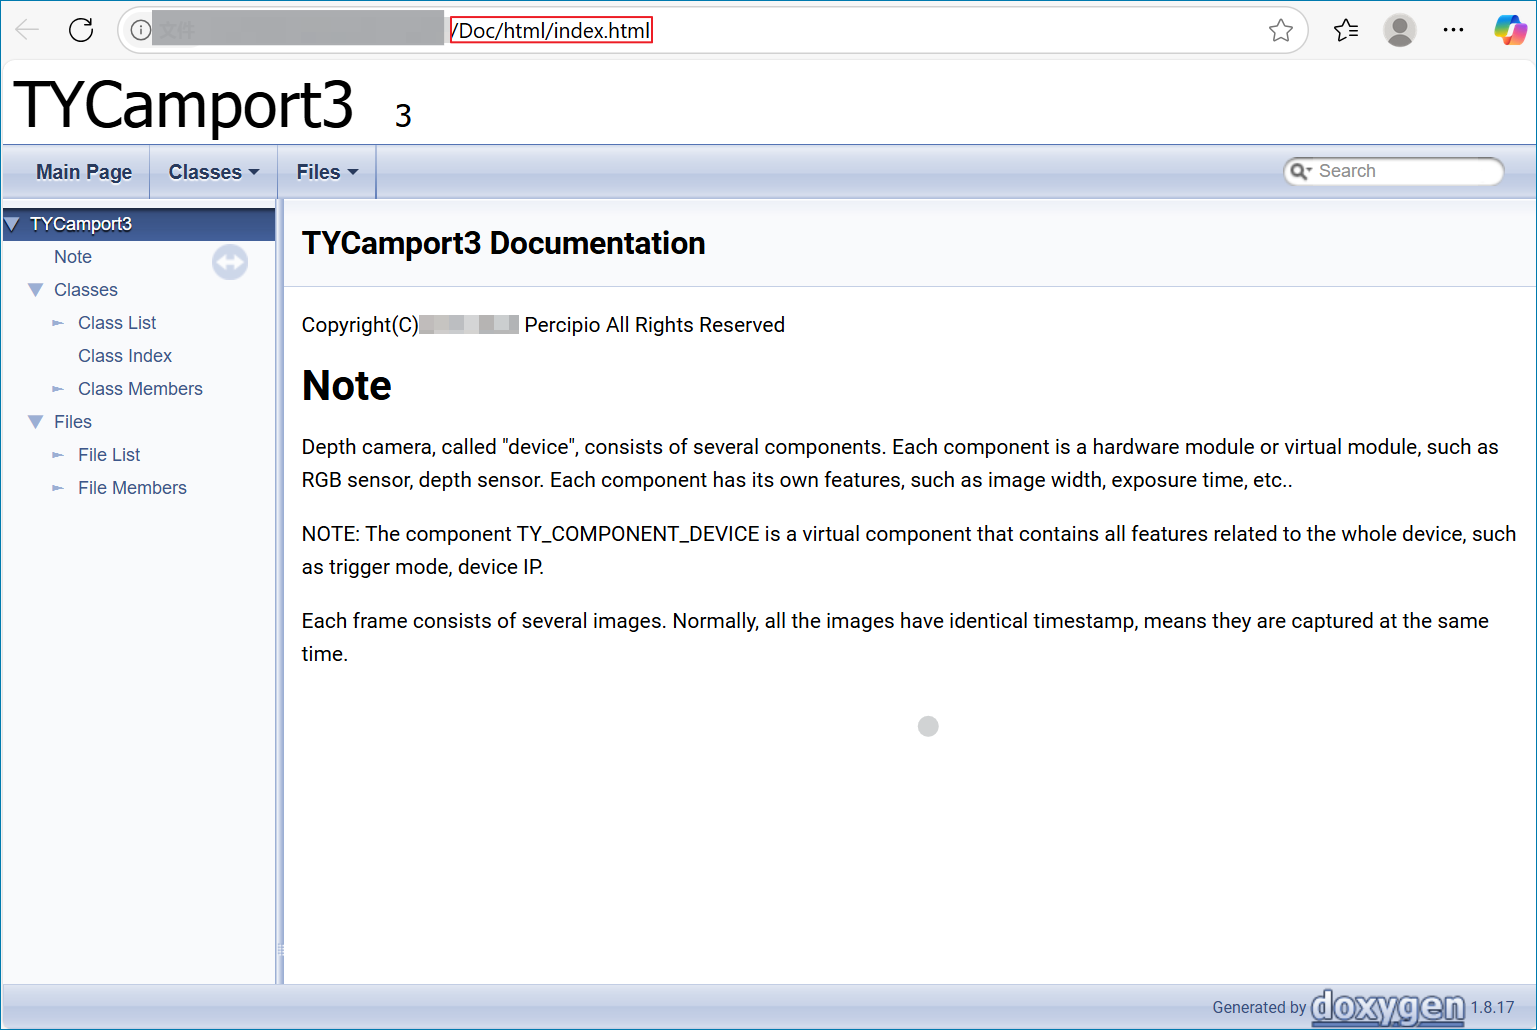
It stores the SDK API reference documentation. The documentation is generated by Doxygen and includes descriptive information about classes, structures and interfaces.
It stores the header files used to call dynamic libraries:
TYImageProc.h: the header file for the image post-processing function interfaces.
TYCoordinateMapper.h: the header file for mapping of image space transformation.
TY_API.h: the header file for configuring the depth camera and obtaining image data. Users can develop their own applications based on these APIs.
lib/linux Directory
It stores library files which support Linux operating system and are compatible with AArch64, ARMv7hf, RaspberryPi, i686 and x86-64 hardware platforms.
lib/win Directory
It stores library files which support the Windows operating system and are compatible with x64 and x86 hardware platforms.
sample Directory
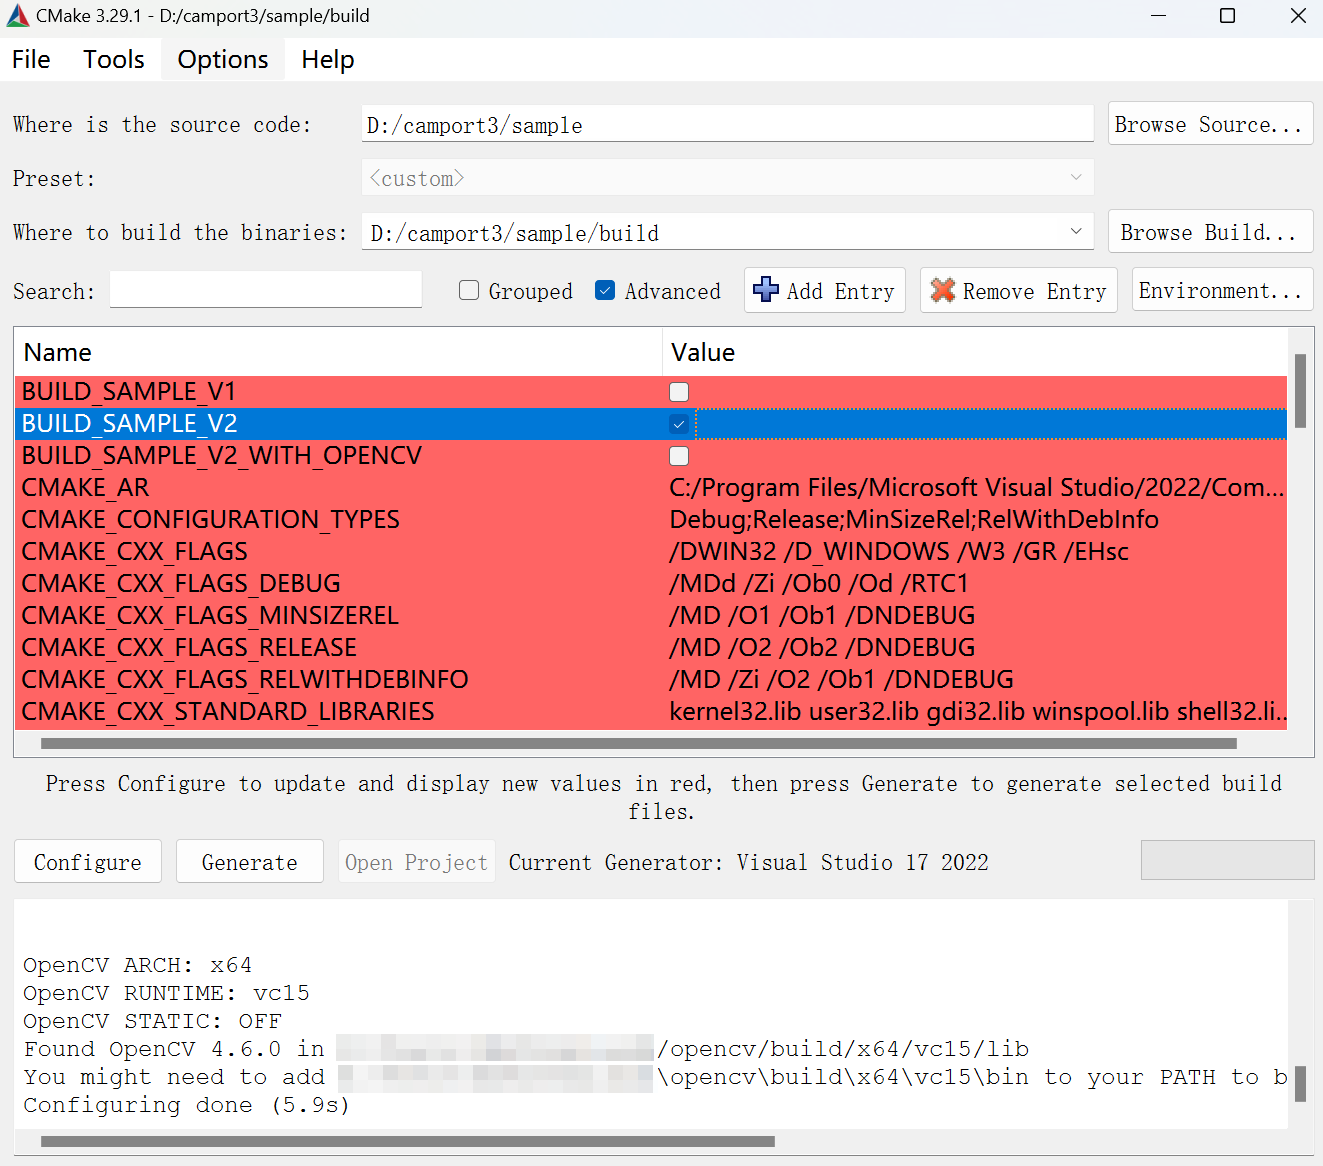
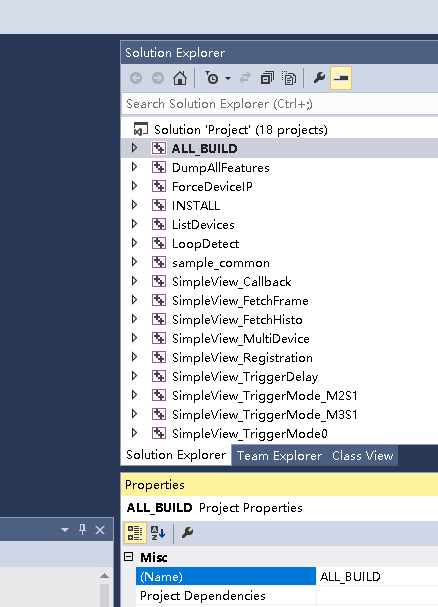
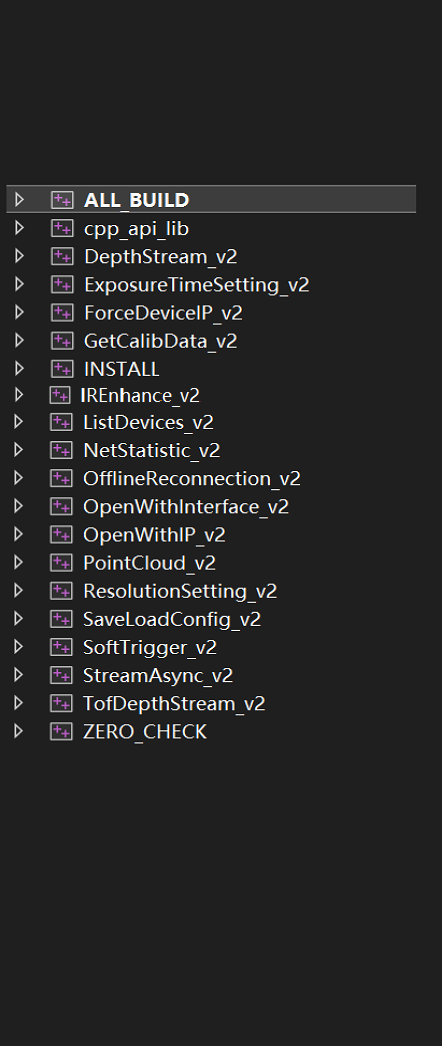
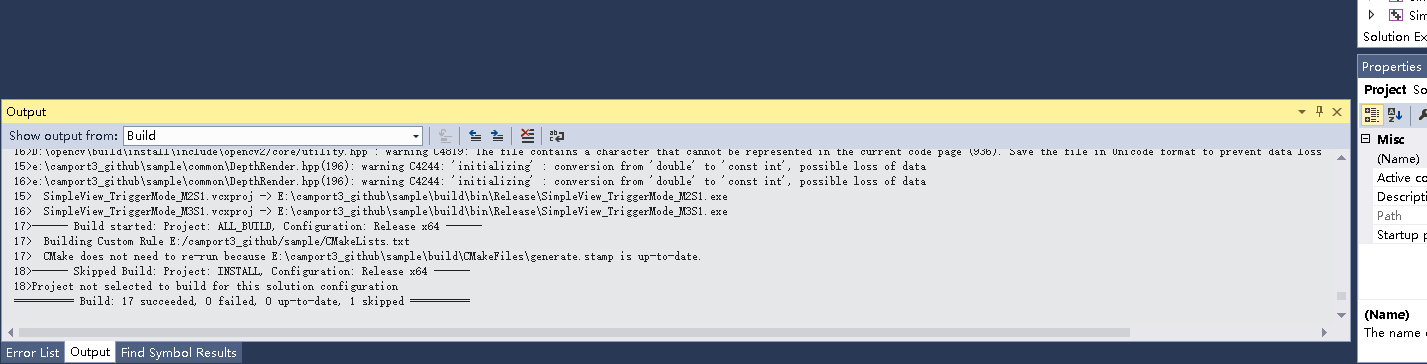
It contains two subfolders, sample_v1 and sample_v2, both of which include sample programs provided for users to refer to when programming. For more details about the sample programs, please refer to Sample Program Descriptions.
Note
The sample programs in sample_v2 add convenient camera control interfaces on the basis of sample_v1 and provide the option of whether to depend on OpenCV or not.
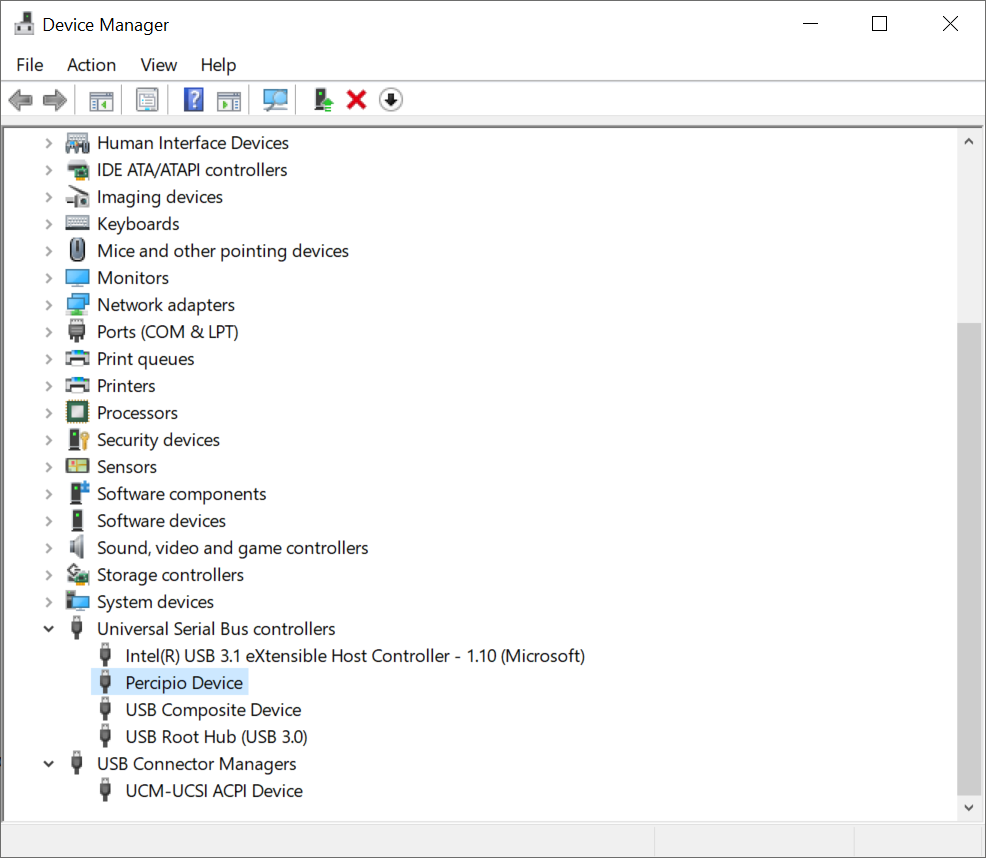
When you are using a USB camera, installing the USB driver is necessary for compiling and running the Camport SDK.
After connecting the Percipio depth camera to a Windows PC using a USB cable, right-click on the Start in the bottom left corner of the desktop and click on Device Manager in the Start menu. In Device Manager, an unrecognized USB device PERCIPIODEVICEEE can be found, as shown in the following image:
Right-click on the device and select Update driver. Choose the driver from the “lib/win/driver” directory in the Camport3 SDK according to the Windows version of your PC, and follow the system prompts to complete the driver installation.
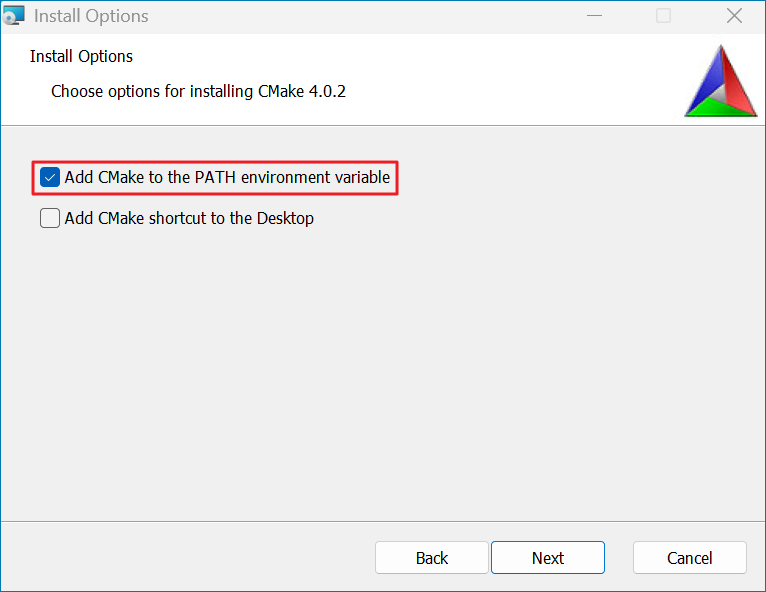
Double click the downloaded .msi installer file and follow the wizard to complete the installation. Important: Select the option “Add CMake to PATH” during the installation process to configure system environment variables automatically.
Double-click the downloaded .exe file to extract the contents, noting the extraction path.
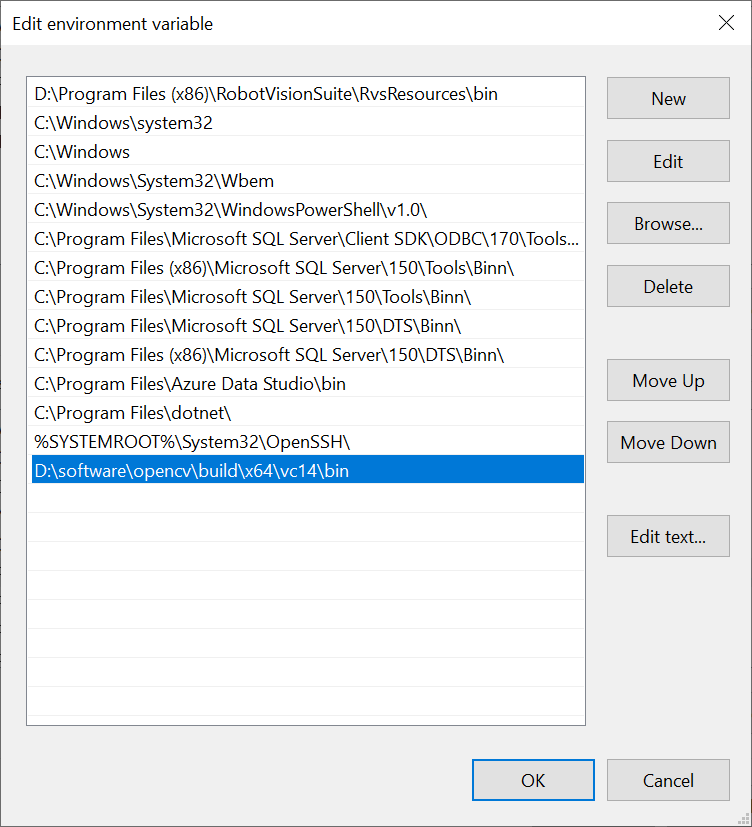
After extraction, configure the OpenCV library path in the system environment variables.
Detailed steps: Access the Environment Variables dialog box, select the “Path” entry, and click Edit. In the Edit Environment Variables dialog box, add the OpenCV library path.
Camport SDK requires users to install OpenCV 4.5.5.
If the target application does not use OpenCV for image display or other image processing calculations, there is no need to install OpenCV.
Install Visual Studio
Download and install Visual Studio . Important: During installation, select the Desktop development with C++ workload under the Desktop and Mobile Applications category.
After connecting to the computer, the depth camera will initiate system initialization. Once the power indicator light blinking at a frequency of 1Hz, you can get the depth maps by running the executable file lib/win/hostapp/x64/SimpleView_FetchFrame.exe in the development package in the Windows 10 X64 system:
For Windows10 X64 OS, run the executable file lib/win/hostapp/x64/SimpleView_FetchFrame.exe in the SDK package to obtain depth maps.
Copy tycam.dll from the development package lib/win/hostapp/x64 directory to the folder sample/build/bin/Release generated by the compilation, and run SimpleView_FetchFrame.exe in the folder to capture the depth maps.