User Interface Introduction
Percipio Viewer is available in both Windows and Linux versions. The following section uses Percipio Viewer (Windows version) as an example to introduce its interface and features.
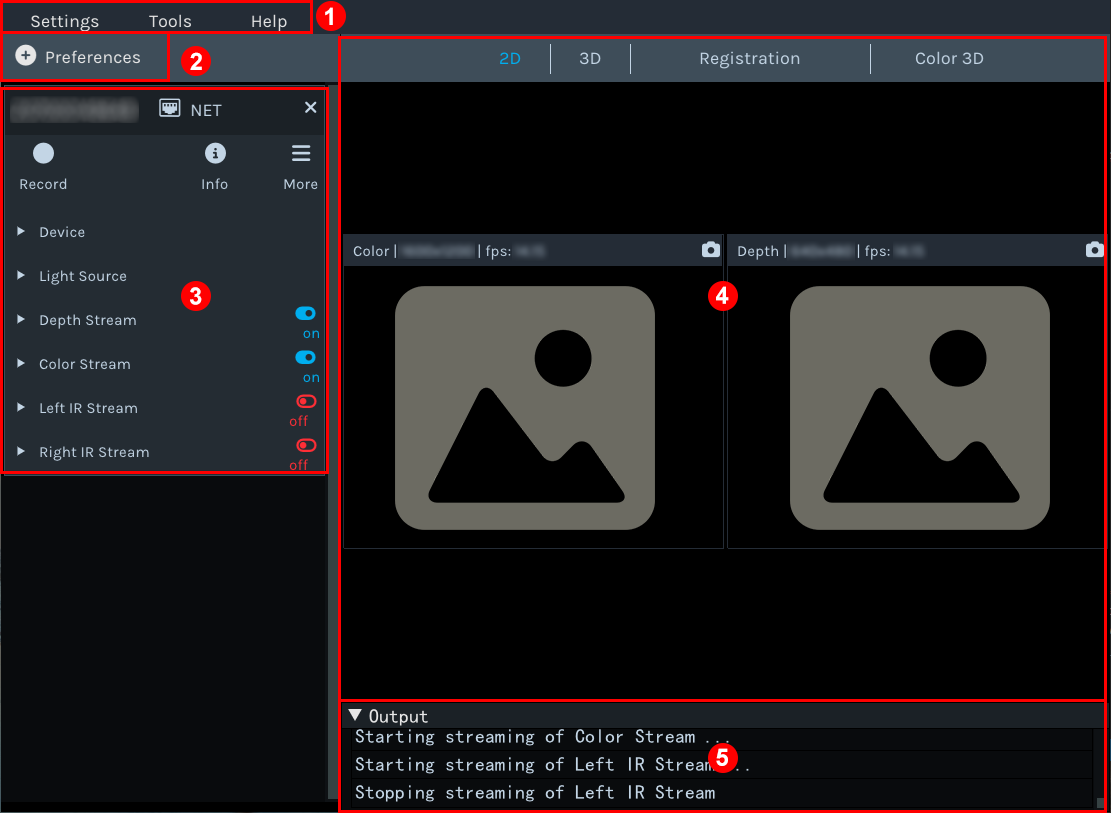
Percipio Viewer Interface
Preferences Button
Click the Preferences to bring up the dropdown menu.
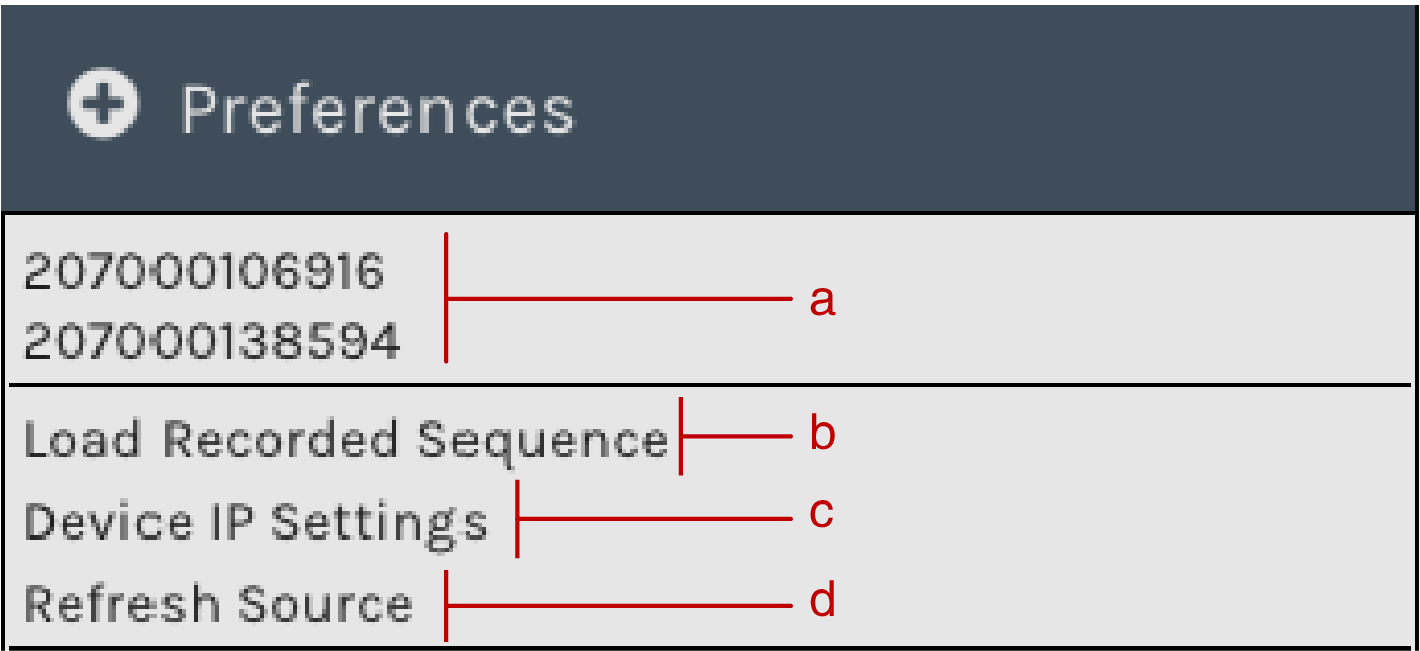
Preferences Dropdown Menu
Device list, where you can select and run the camera.
Load local recorded videos.
Refresh the device list.
Control Panel
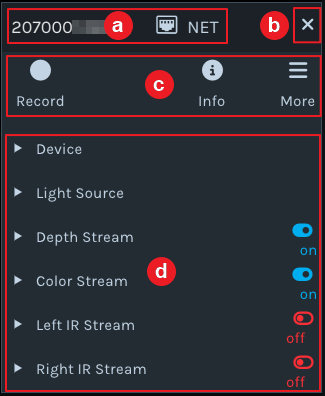
Control Panel
Camera information area: contains the serial number and type of the current camera.
 Button: Click to close the currently opened camera.
Quick access button area
 : Click to enter the setting pages for Continuously Save Images and Record Videos.
 : Click to view detailed information of the current camera below, including interface name, serial number, model, Mac/IP address (specific to network cameras),
The camera information is copied via the Ctrl + C key combination.
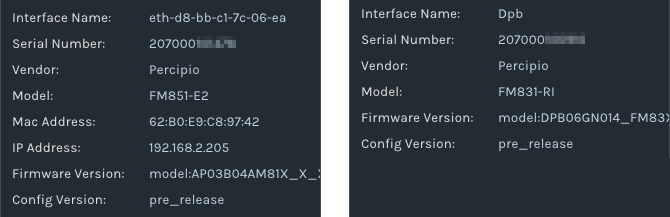
Network Camera Information (Left) and USB Camera Information (Right)
 : Click to bring up the secondary menu.
API level: Select the parameter display level in the Parameter Setting area. For specific instructions, see Select the API Level.
Reboot: Restart the camera.
Parameter setting area: The following operations are performed in this area.
Click
 on the left side of a component to expand the page, then view and set parameters for each camera component.
Turn on
 / turn off
  the data stream.
Note
For the description of the parameters in this area, see Parameter Descriptions.
Image Display Area
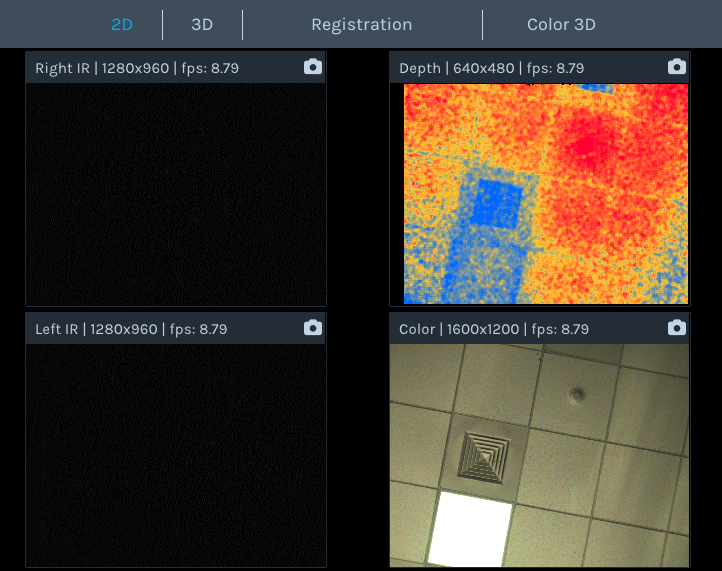
Image Display Area
After turning on the data stream, the corresponding images are displayed in the image display area.
The buttons above the image display area, including 2D, 3D, Registration, and Color 3D, allow you to switch views. For view adjustment methods, see View and Adjust Views.
Log display area
Display all log information.