Documentation Version Note
This document applies to Vcamera SDK 26.1.5 and later, using source-code compilation based on the no-installation package (.zip).
If you are using an earlier SDK release based on .exe/.deb installers, see the legacy documentation.
Download Vcamera SDK
Click the download link to get the latest no-installation Vcamera SDK package. It includes libraries for both Windows and Linux and can be compiled directly after extraction.
Directory Layout
The directory structure after extracting VcameraSDK-X.X.X is as follows:
VcameraSDK-X.X.X/
 ├── 📁 cpp/
 │   ├── 📁 example/                            # C++ sample program source code
 │   ├── 📁 include/                            # All SDK header files
 │   ├── 📁 win/                                # Windows libraries (Debug / Release)
 │   └── 📁 linux/                              # Linux libraries (Debug / Release)
 ├── 📁 csharp/                                 # C# sample programs and runtime libraries
 ├── 📁 python/                                 # Python sample programs and build scripts
 ├── 📁 doc/                                    # Documentation and camera attribute list
 ├── 📁 rpc/                                    # RPC-mode runtime libraries (advanced users only), supporting multi-process connection to the same camera
 ├── 📄 README.html                             # English VcameraSDK overview
 └── 📄 migration_from_25.5.x_to_26.1.x.pdf     # English migration guide
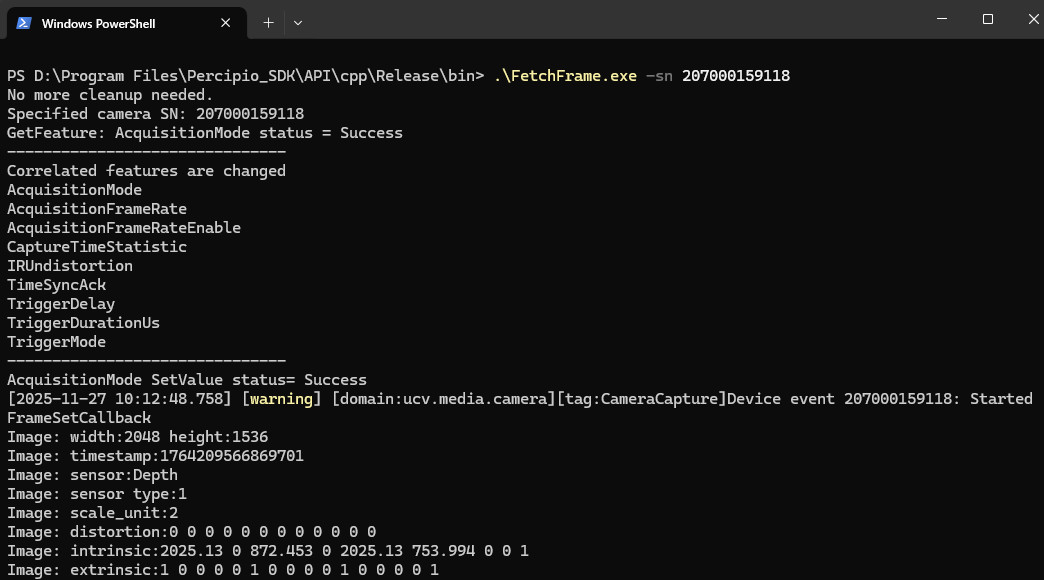
Run Precompiled Files
If you do not need to compile the code yourself, the C++ SDK also provides precompiled sample programs in both Debug and Release versions, which can be run directly.
Using the Release version as an example, go to VcameraSDK-X.X.X/cpp/win/Release/samples, open a terminal, and run the program.