Set 2D ROI
Steps like Depth to Point Cloud support 2D ROI. They operate only on the 2D image within the 2D ROI.
Prerequisite
Before opening the 2D ROI editor, specify the Reference Scene Point Cloud in the Project Assistant tab of the project configuration pane at the lower right corner of the home screen. This sets the input point cloud on which the ROI is based. For more, see Select Scene Point Cloud.
Open the Editor
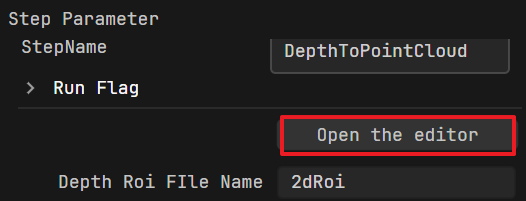
In the Step Parameters tab, click Open the editor to open the 2D ROI editor.
Draw the ROI
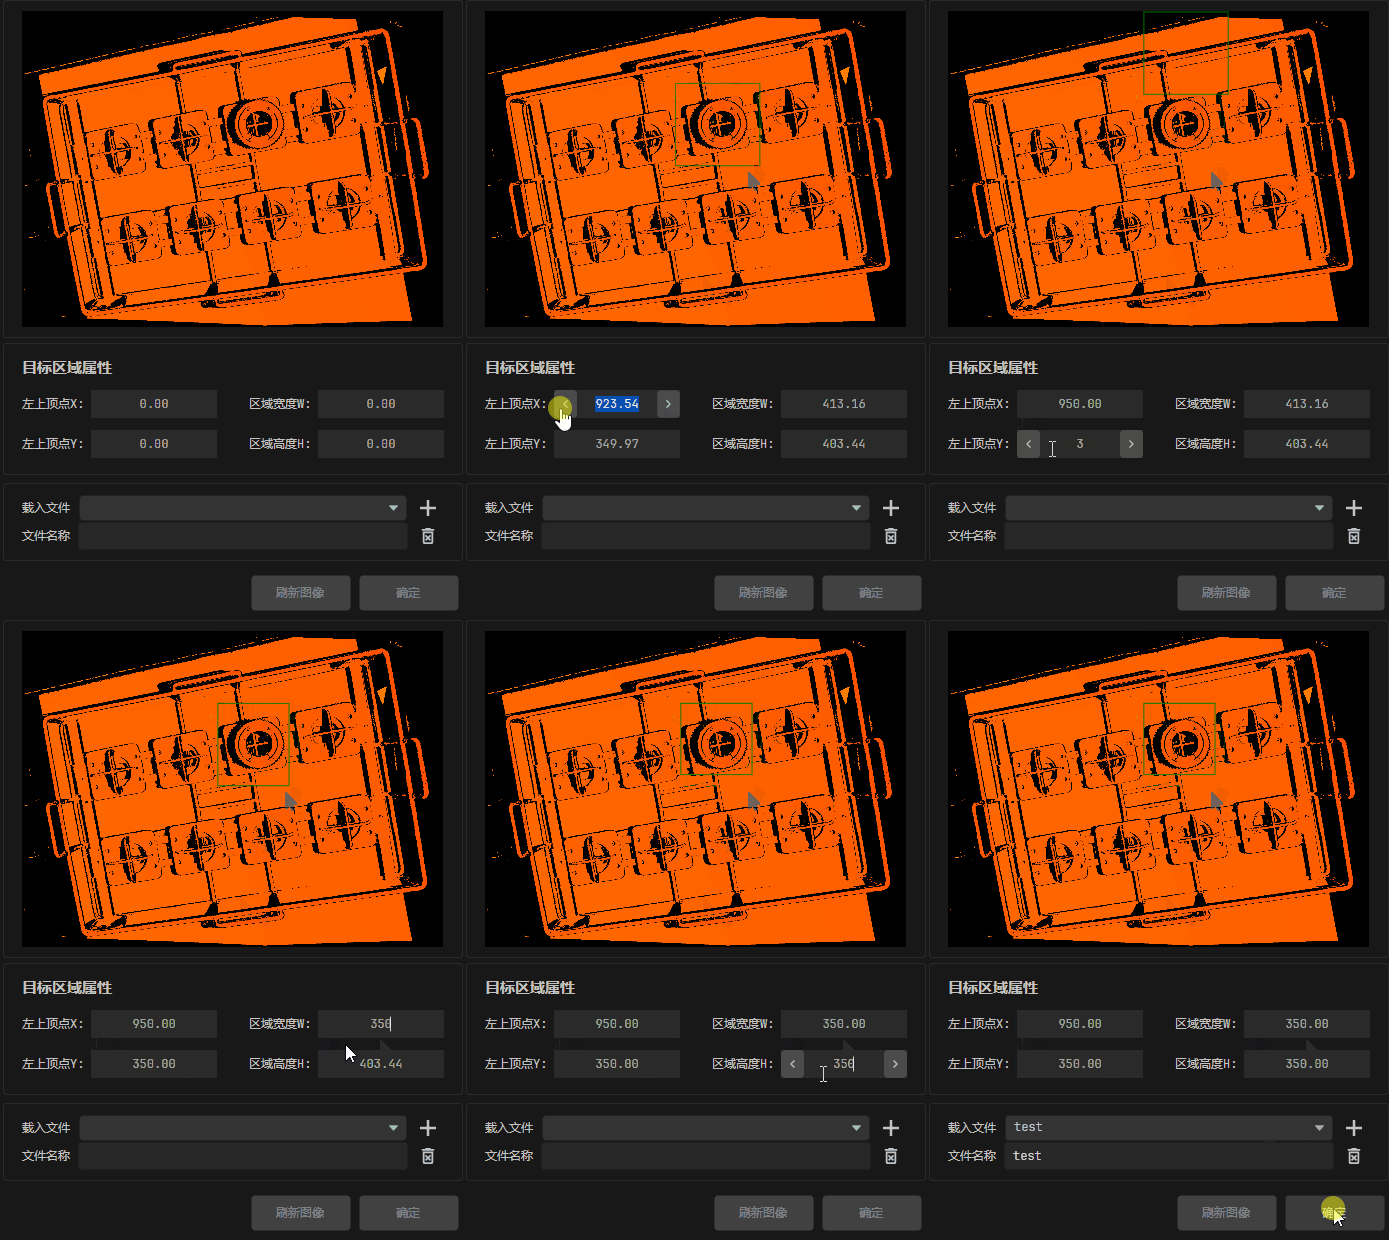
Hold the left mouse button and drag on the displayed 2D image to draw a green 2D ROI (target area). While drawing, the Target Area Properties section displays the top-left vertex coordinates (X, Y), area width W, and area height H in real time.
You can also adjust the values of these properties to change the position and size of the 2D ROI.
Example
Save the ROI Configuration
After drawing the ROI, click OK. The system automatically saves the current ROI configuration to the current 2D ROI configuration file.
To create a new 2D ROI configuration file, enter a new name in the File Name field and click
 . The system saves the current ROI configuration to the new file.
Switch ROI Configuration
Click the dropdown arrow in the Load file field and select a saved 2D ROI configuration file to load and apply it.

Delete ROI Configuration
Select an ROI configuration file and click  to delete it.
