Convert Depth Image to Point Cloud
Function Description
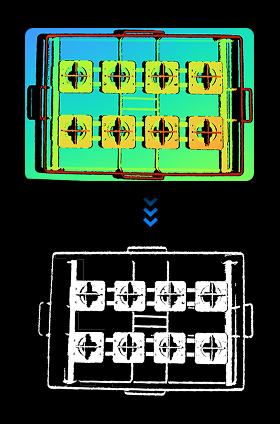
Converts depth images to point cloud data in the corresponding scene. Supports extracting depth information for specific regions through Region of Interest (ROI) and can generate color point clouds with color information by combining with color images.
Use Cases
Typically used after the “Image Acquisition” step to convert depth images acquired by the camera into point clouds. By setting the region of interest, unnecessary point clouds can be removed to improve execution speed.
Inputs
Camera Depth Image (Required): Depth image to be converted. Please use the depth image output from the “Image Acquisition” step.
Camera Color Image (Optional): Color image of the same scene as the depth image, used to generate color point clouds.
Outputs
Point Cloud: Converted point cloud data.
Color Point Cloud: Point cloud data with color information (can be generated when color image is input).
Parameters
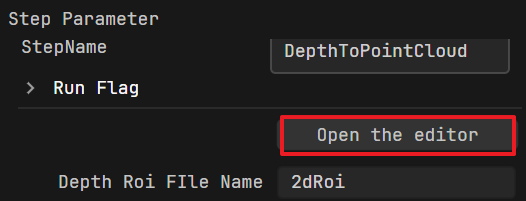
Depth Image ROI File
Open Editor: Click to open the 2D image editor window.
Number
Description
Function
1
Depth image display area
Displays the currently input depth image.
2
2D ROI box
In the depth image preview window, hold down the left mouse button and drag to draw a green ROI box.
Only depth information within this area will be converted to point cloud.3
Target region attribute settings area
Precisely set the position and size of the ROI region:
- Top-left vertex X: X coordinate of the ROI region’s top-left corner.
- Top-left vertex Y: Y coordinate of the ROI region’s top-left corner.
- Region Width W: Width of the ROI region.
- Region Height H: Height of the ROI region.4
2D ROI file management area
2D ROI file configuration and management:
Create New 2D ROI File
Enter a file name in the “File Name” field and click to create a new file.
At this time, the “Load File” field will automatically switch to this file.
File storage address: {current solution directory}/Asset/ROI_2D
Delete 2D ROI File
Click to delete the 2D ROI file displayed in the “File Name” field.
Switch 2D ROI File
Select a saved 2D ROI file from the “Load File” dropdown.5
Confirm
After drawing the 2D ROI box and completing ROI file configuration, click “Confirm”.
Depth Image ROI File: Displays the name of the currently selected ROI file.
ROI files are saved by default in the {current solution directory}/Asset/ROI_2D directory.