Create Point Cloud Model by Teaching Pick Point
In this workflow, pick points are first added to the target object through robot teaching, and the point cloud acquired by the camera is then used to generate a point cloud model. You can further refine the pick point positions and poses based on this model.
The overall operation process is shown in the figure below.

Preparations
To acquire the point cloud in this workflow, use the “ImageAcquisition” step of the corresponding project in the current solution, and make sure the correct hand-eye calibration data has been loaded. Ensure that the selected project is stably connected to a real camera, the camera’s field of view fully covers the target object or its feature areas, and the camera parameters have been adjusted to the expected state, so that the point cloud acquisition quality is guaranteed.
Teach Pick Point
In this step, move the robot so that the end effector reaches the desired pick position on the target object, providing the reference pose needed for model creation. Follow these steps:
Place the target object within the camera’s field of view and make sure the robot can approach it without obstruction.
Precisely move the robot so that the end effector reaches the desired pick point on the target object.
Adjust the end effector pose so that its tool coordinate system is as close as possible to the center of the point cloud model, reducing pose deviation during later picking.
Record and enter the robot flange pose and TCP (tool pose relative to the robot flange) at the pick point in the parameter configuration section on the right.
Attention
If the TCP pose was used during hand-eye calibration, you do not need to enter the Tool Center Point pose data. If the robot flange pose was used instead, you must enter the Tool Center Point pose data.
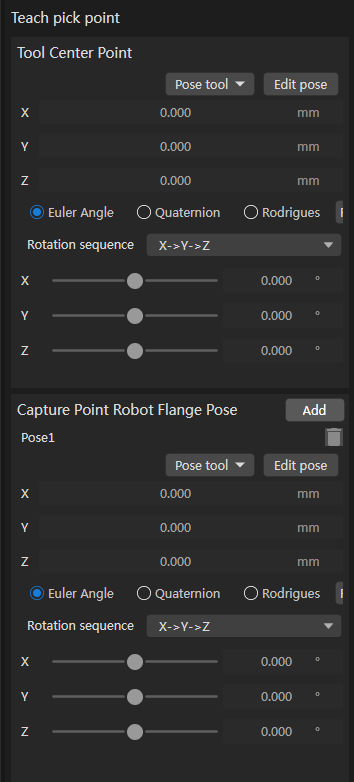
You can manually set the pose using the following methods:
Modify Directly in the Configuration Panel: In the Object Center Point configuration panel, directly adjust the coordinates (X, Y, Z) and rotation parameters.
Adjust Pose Offset Using the Pose Transform Tool: Click the
Pose toolbutton to open the Transform Pose tool. Adjust the offset relative to the current position and orientation to update the pose in real time. The 3D pose control in the interface updates accordingly.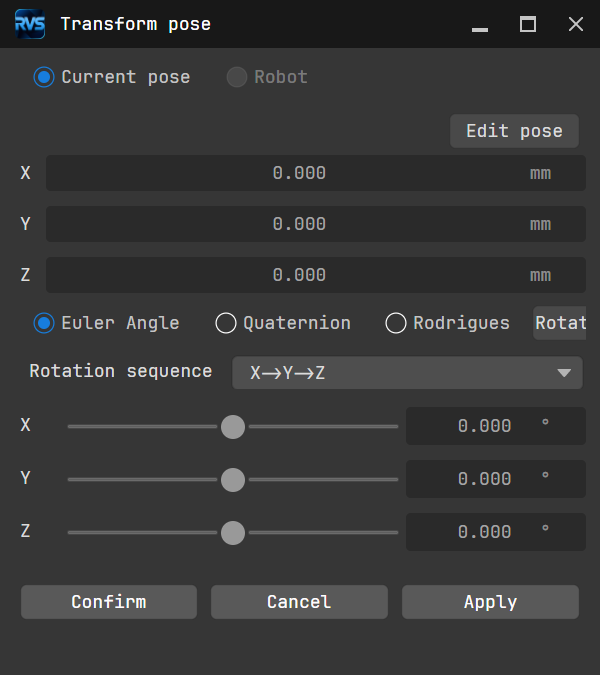
Input Through the Pose Edit Interface: Click the
Edit posebutton and directly input position and rotation information in the pop-up window according to the indicated format. After clickingConfirm, the input values will be synchronized to the Object Center Point configuration panel.
Control the robot to move away from the pick point. During this process, the target object position must remain unchanged.
Click the
Nextbutton to continue the subsequent process.
Acquire Point Cloud
Set Project Information and Acquire Point Cloud
Control the robot to reach the photo capture point.
In the Project Information area, select the project and camera to use. By default, the first project that contains the “ImageAcquisition” step and is connected to a real camera is selected automatically.
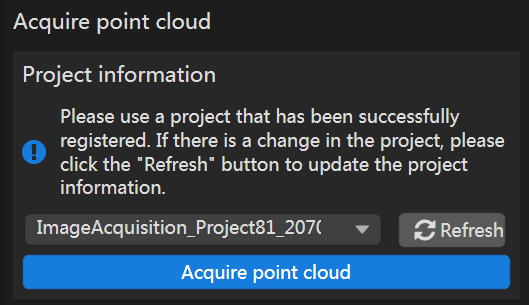
If the camera uses an eye-in-hand configuration, record the robot flange pose at the photo capture point.
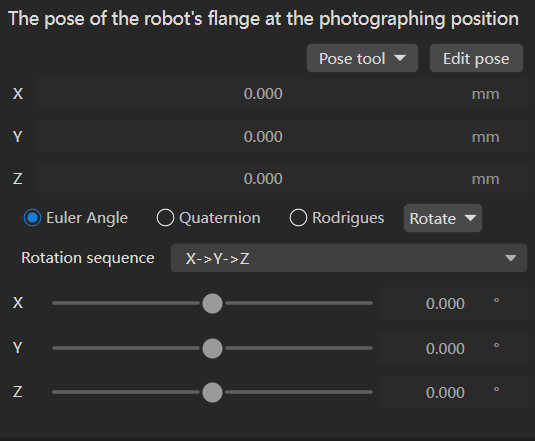
You can manually set the pose using the following methods:
Modify Directly in the Configuration Panel: In the Object Center Point configuration panel, directly adjust the coordinates (X, Y, Z) and rotation parameters.
Adjust Pose Offset Using the Pose Transform Tool: Click the
Pose toolbutton to open the Transform Pose tool. Adjust the offset relative to the current position and orientation to update the pose in real time. The 3D pose control in the interface updates accordingly.Input Through the Pose Edit Interface: Click the
Edit posebutton and directly input position and rotation information in the pop-up window according to the indicated format. After clickingConfirm, the input values will be synchronized to the Object Center Point configuration panel.
Set 3D ROI (Optional)
To quickly remove irrelevant point clouds from the scene and extract the target object point cloud, enable the “Remove irrelevant point cloud using 3D ROI” option.
After the option is enabled, a 3D ROI box appears in the point cloud display area. Adjust the position and size of the box to define the valid region of the target object. For detailed instructions, see Set 3D ROI.
Set Edge Point Cloud Estimation Method
The edge point cloud estimation method is used to estimate the point cloud at the target object edges to assist subsequent model editing and pick point settings. The system provides two methods:
2D
The 2D method for estimating point cloud edges is based on edge detection of RGB images acquired by the camera to extract edge point clouds. Applicable when target object edges have obvious features in RGB images.
For specific parameter explanations, see 2D Edge Point Cloud Estimation.
3D
The 3D method for estimating point cloud edges is based on edge detection of point cloud data acquired by the camera to extract edge point clouds. Applicable when target object edges are not obvious in RGB images but have obvious features in point cloud data.
For specific parameter explanations, see 3D Edge Point Cloud Estimation.
Edit Model
This step is the same as “Create Point Cloud Model from Camera Data”. See Edit Model.
Set Pick Points
By default, the pick point list displays the pick point obtained through robot teaching in the Teach Pick Point step. This pick point is defined relative to the target object center point, so any change to the target object center point affects the pick point. You can adjust the default pick point or add new ones.
Adjust Default Pick Point
If the default pick point does not meet actual picking requirements, you can manually adjust the related values in the “Pick Point Configuration” panel or drag the pick point directly in the visualization area.
Add New Pick Point
If the target object has multiple pick points, you can click the
+Newbutton to add a new pick point.After adding a new pick point, you can also drag it within the pick point list to change its order and adjust its priority. During actual picking, pick points higher in the list are prioritized.
Save Model
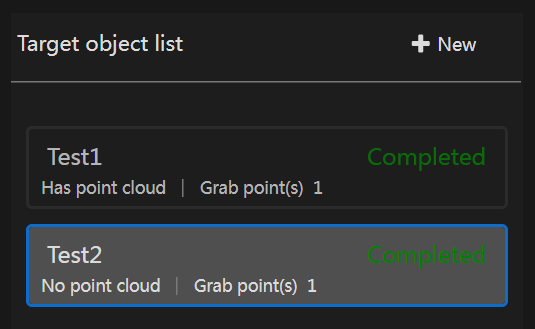
Click the Save button in the lower-right corner to save the current model and pick points. Saved target object models appear in the Target Object List on the left side of the interface.